
Streamline workflows to save time and optimize resources
Provide a tailored and engaging customer experience
Drive profitability and accelerate sustainable growth
Stay Ahead with Cutting-Edge Technology – Don’t Let Your Business Fall Behind
In today’s fast-moving digital world, outdated technology can cost you more than just time—it can cost you customers and opportunities. Falling behind means:
Losing Customers and Market Share
Outdated technology prevents you from leveraging the latest innovations, leaving your business vulnerable to more agile competitors.
Missing Growth Opportunities
Relying on outdated processes and repeating past mistakes means missing out on advancements that can drive meaningful growth and innovation.
Wasting Valuable Resources
Investing in technologies that fail to deliver ROI drains your resources and limits your ability to focus on strategies that truly add value.
Unlock Growth and Success with a
Trusted Software Development Partner
Partner with Expeed Software to achieve your business goals with confidence. We deliver tailored digital solutions that drive results, maximize your technology investments, and position your business for long-term success in a competitive landscape.

"Turn your vision into reality with customized solutions from a leading software development company." - Expeed Software
Future-Proofing Your Business in
3 Simple Steps
Schedule a Consultation
Book a time with one of our strategic advisors to map out a clear path to success.
We take the time to truly understand your goals and craft a customized roadmap for success. As a leading software development company, we focus on creating personalized strategies that unlock your business’s full potential and drive sustainable growth.
Determine the Right Solution
Collaborate with our experts to refine your ideas and finalize solutions that meet your goals.
Through collaboration with your team, we create a software solution that puts your business on the best path forward. Our approach ensures that your needs are met with precision and that the solutions we recommend align with your business objectives and industry standards.
Achieve Your Goals
Launch with confidence using a market-ready solution designed to meet your specific needs.
We offer continuous support and forward-thinking strategies, ensuring that the solution not only meets your primary goals but also adapts to future opportunities, inspiring continued growth.
Here is How We Empower Your Services With
The Best Software Development Solutions
As a trusted custom software development company, we aim to accelerate your journey toward success by empowering you with the perks of next-gen, futuristic technologies. Unfold our success stories to learn how we work!
UTILITY & ENERGY
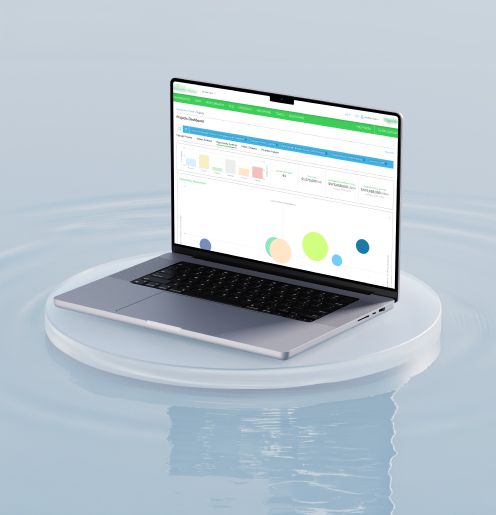
Energy Usage Analytics Platform
We developed a comprehensive platform capable of turning out millions of energy usage data points into actionable insights for a prominent energy management company.
Improvement in operational accuracy
Enhancement in customer satisfaction
LOGISTICS
Service-Oriented UX Revamp for Logistics Efficiency
We revamped our logistics client’s application with a focus on improved accessibility to time-critical features and heuristics for more efficient decision-making. By prioritizing user experience, we delivered a solution that simplified navigation, improved design consistency, and enhanced efficiency.
Reduction in user navigation time across the app
Decrease in UI clutter
Improvement in design consistency

IOT
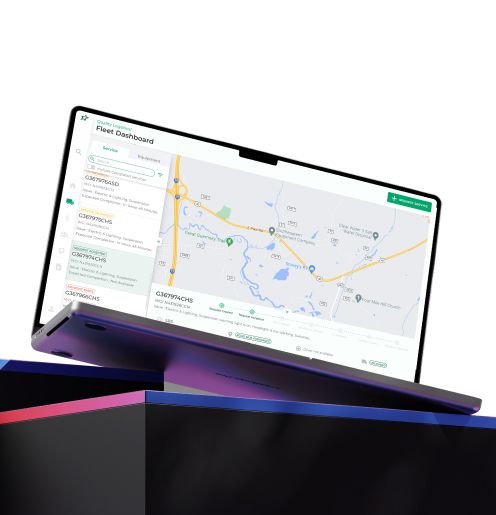
Custom Analytics Platform Using IoT Data Sources
The AI-enabled platform connects effortlessly with IoT ecosystems, providing customizable dashboards and real-time analytics for quick, data-driven findings.
Reduction in time spent configuring analytical dashboards
Faster anomaly detection for IoT devices
Increase in operational efficiency

INSURANCE
Health Insurance Claim Management and Fraud Detection Analysis
We collaborated with a leading insurance provider to develop an advanced data analytics platform. This platform was intended to save costs by detecting fraudulent claims and managing health insurances in an efficient and hassle-free manner.
Improvement in accuracy
Reduction in fraudulent claims
AI-BASED APPLICATION
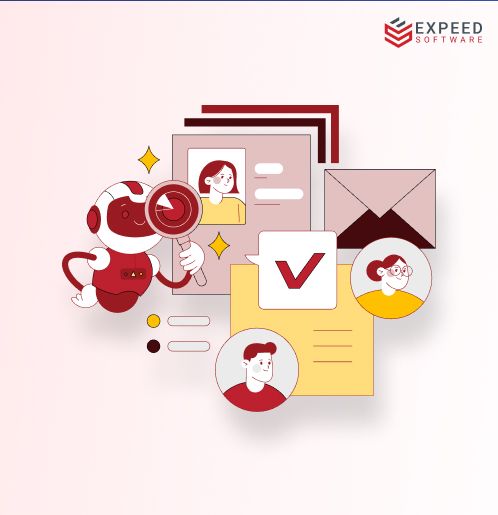
AI-Driven Recruitment Software
Expeed’s AI-driven recruitment platform revolutionizes hiring processes by automating tasks such as resume screening, candidate scoring, and interview evaluation. Built on CrewAI’s agent-based framework, the tool simplifies recruitment workflows, ensuring scalability, precision, and efficiency.
Reduction in manual resume screening tasks
Faster candidate evaluation process
Our services cater to a wide spectrum of satisfied customers. Discover what differentiates us as a leading software development company by analyzing more of our success stories!
Discover Your
Customized Roadmap
to Success
Get the right tech solution with Expeed's Jumpstart Program. Share your problem and some basic details about your company. Get a personalized PDF guide with tailored solutions.
What You Receive
★Personalized Insights: Get an in-depth analysis based on the distinct challenges faced by your business.
★Adept Recommendations: Witness how Expeed's expertise as one of the top software development companies converts recommendations into actionable steps in line with your business plans.
★Convenience and Speed: Obtain a professional review in no time, which will help you understand the possible solutions without obligation.
Learning Center
Simplifying the Latest Technology Trends... One Blog at a Time
Lead with Innovation, Be the
Business Your Competitors Admire
In today's fast-moving world of technological advancement, your business has to stand out. Expeed is a leading software development company that designs cutting-edge technology solutions to propel your business to the forefront of your industry. Our focus is on equipping you not only to tackle current challenges but also to predict future trends. We ensure that your business stays a leader and an innovator in the market.